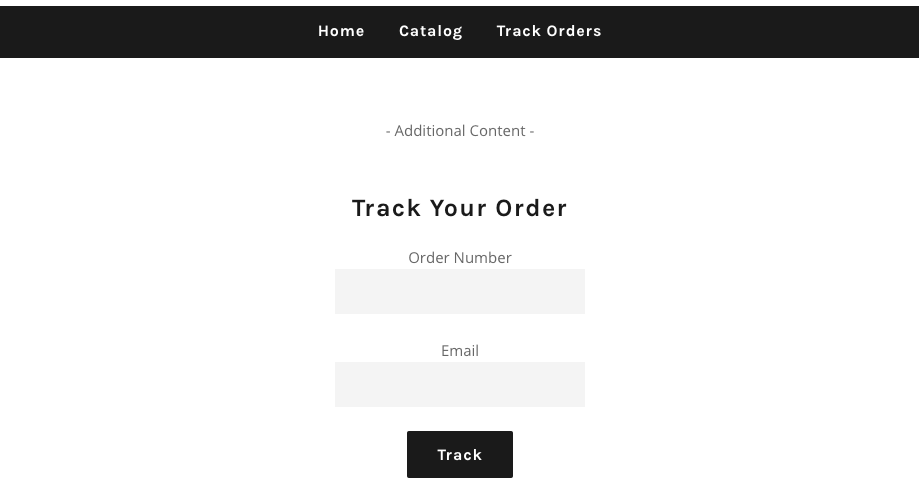
Customize your Tracktor Page
Adjust the layout of your Tracktor tracking page, add your own HTML, or apply custom CSS so the page matches your store's branding.
There are a few ways to customize how your tracking page looks and works. Whether you want to adjust the layout, add your own HTML, or apply custom CSS, the options below walk you through each approach.
If you’re not sure where to start or want help making your tracking page match your store’s branding, reach out to our support team, and we’ll point you in the right direction.
CSS and HTML customization availability by plan
Section titled “CSS and HTML customization availability by plan”Some customization options require a specific Tracktor plan:
- Basic: CSS and HTML customization are not available on this plan.
- Starter and above: Reach out to our support team, and we can make CSS adjustments for you.
- Essential and above: You can add CSS and HTML directly in the Tracking Page Editor yourself.
Option 1: Use the Customizable Tracking Page Layout
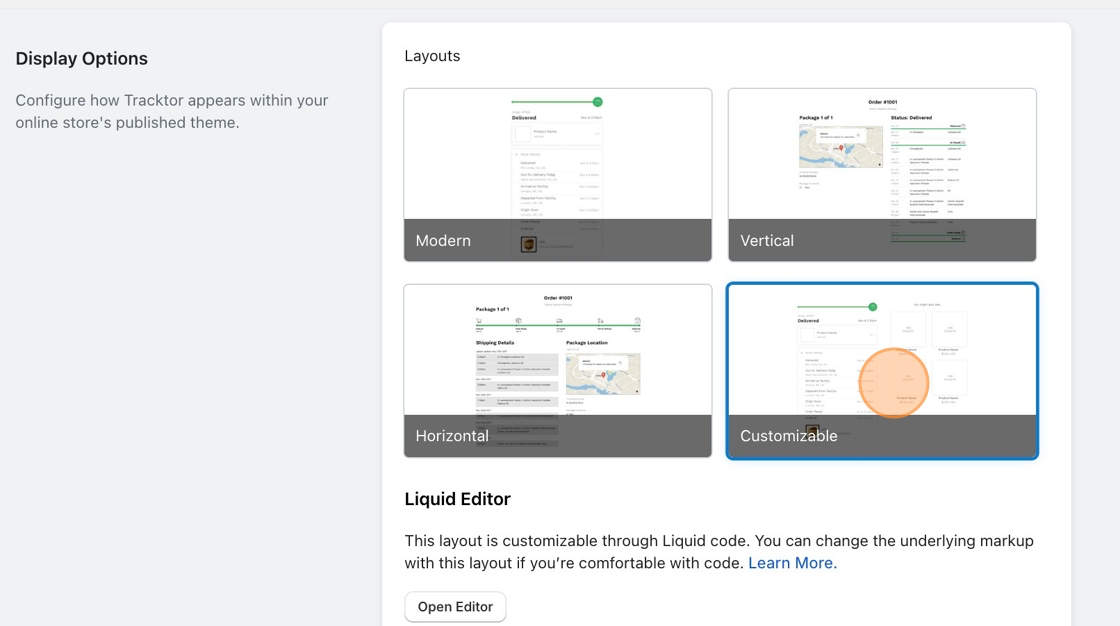
Section titled “Option 1: Use the Customizable Tracking Page Layout”The Customizable layout is built with Liquid code, which means you can fully edit the template to control how your tracking page looks and what it displays.
It comes with a default template that works out of the box, so you don’t need to make any changes to get started.
To enable it:
Section titled “To enable it:”- From the Tracktor dashboard, go to the Tracking Page section.
- Select the Customizable layout and save your changes.
- Use the Preview button at the top of the page to see how it looks.
To edit the layout:
Section titled “To edit the layout:”If you’re comfortable with Shopify theme code, click Open Editor to customize the underlying markup. Tracktor exposes a Liquid object with all the order and fulfillment data you need. For example, to display the order name on the tracking page:
To edit the layout:
Section titled “To edit the layout:”If you’re comfortable with Shopify theme code, click Open Editor to customize the underlying markup. Tracktor exposes a Liquid object with all the order and fulfillment data you need. For example, to display the order name on the tracking page:
{{ tracktor.order.order_name }}For a full list of available Liquid variables, check out this resource.
Option 2: Adding Header and Footer HTML
Section titled “Option 2: Adding Header and Footer HTML”Available on the Essential plan and above. On Starter, contact support, and we can help.
You can add custom HTML to the top or bottom of your tracking page, which is useful for adding banners, messaging, or additional content.
- From the Tracktor dashboard, go to the Tracking Page Editor tab.
- Scroll to the bottom of the page and find the Custom HTML section.
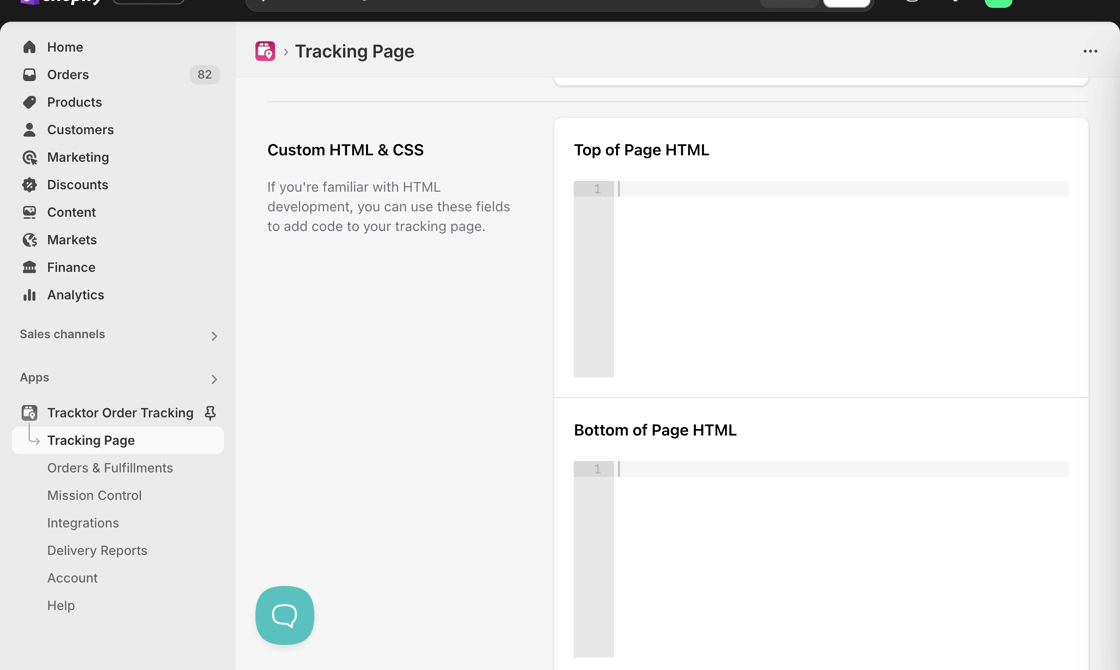
- Add your HTML to the Header or Footer field.
- Save your changes.
Option 3: Centering your Tracking Page
Section titled “Option 3: Centering your Tracking Page”Available on Essential plan and above. On Starter, contact support and we can help.
If your tracking page content appears left-aligned and you’d like it centered, you can fix that with a quick CSS snippet.
- From the Tracktor dashboard, go to the Tracking Page Editor tab.
- Scroll down to the Custom CSS section.
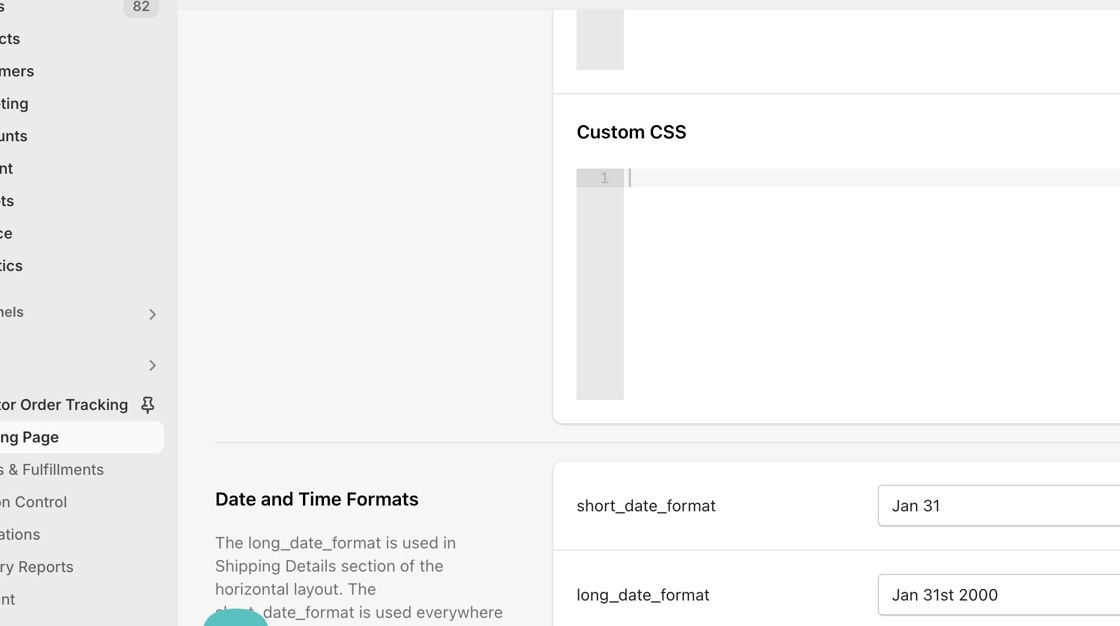
- Paste in the following CSS:
#tracktorOrderForm {  text-align: center;}
#tracktorOrderForm label {  text-align: center;}
#tracktorOrderForm .field.recaptcha > div {  margin: 0 auto;}
4. Save your changes!
Option 4: Create a new Tracking Page
Section titled “Option 4: Create a new Tracking Page”If you want to add content around your tracking form, like additional instructions or branding, you can create a new page in Shopify and embed the Tracktor form there.
Add the code below to a new page in your Shopify store, along with any additional content you want to include. When a customer clicks Track, they’ll be redirected to the default Tracktor tracking page.
<center> <form id="tracktorOrderForm" class="tracktorCustomTrackingPage" method="GET" action="/apps/tracktor"> <h1>Track Your Order</h1> <div> <label for="tracktorOrderName">Order Number</label> <br> <input id="tracktorOrderName" type="text" name="order" style="min-width: 250px; max-width: 450px;"> </div> <br> <div> <label for="tracktorOrderEmail">Email</label> <br> <input id="tracktorOrderEmail" type="text" name="email" style="min-width: 250px; max-width: 450px;"> </div> <br> <button id="tracktorTrack" class="button-enter btn styled-submit">Track</button> </form></center>