
How to publish a page
Preview a Page Studio draft, then publish it so the page goes live on your Shopify store.
Once you’ve created a page on Page Studio, there are a series of steps to take that ensure your page is published and live on your Shopify store.
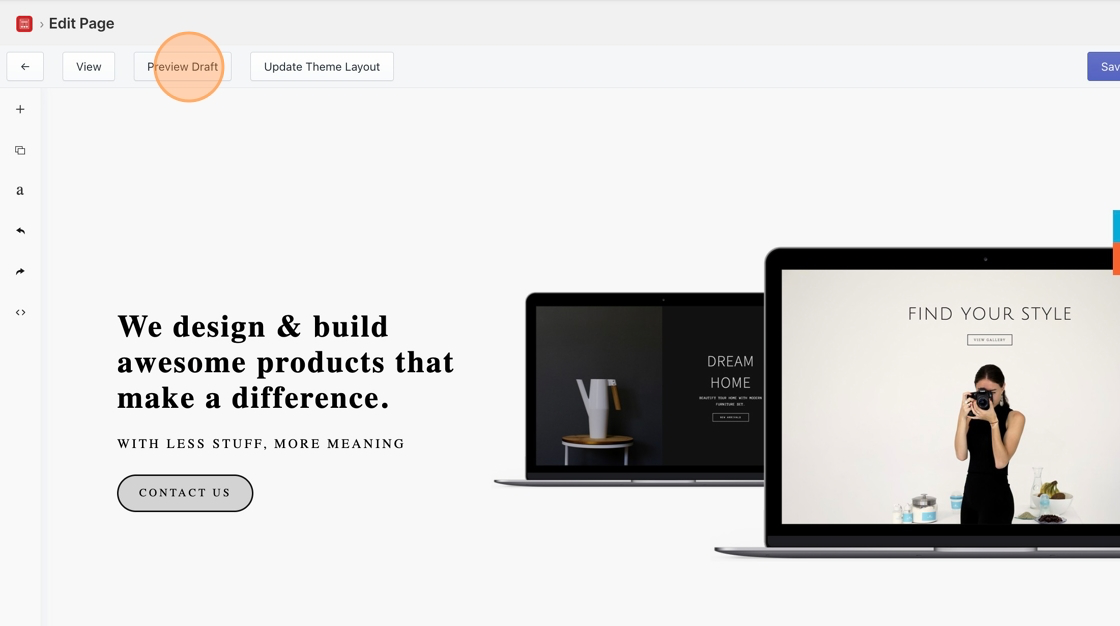
1. Check out a preview draft of your page
Section titled “1. Check out a preview draft of your page”Want to see what your page will look like without making it go live? Simply click on the Preview Draft button at the top of the editor before saving your page.
2. Publish your page
Section titled “2. Publish your page”If you are done applying all your content, you can now save your page which will automatically publish it to your store. Your customers will not be able to see your page after publishing it your store.
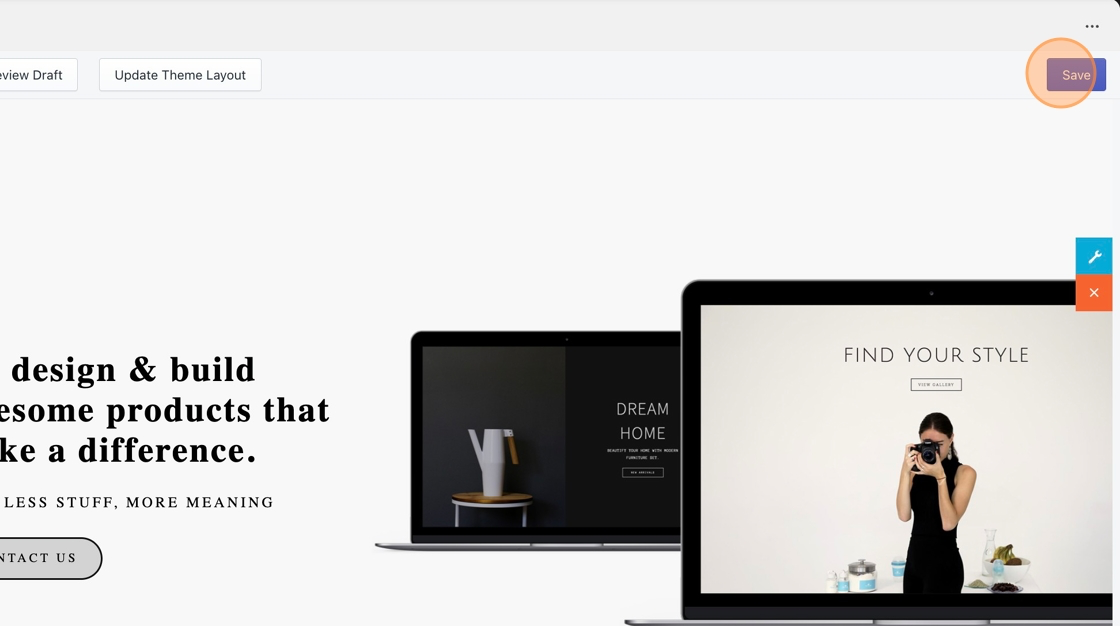
3. Add your page to your store’s navigation menu
Section titled “3. Add your page to your store’s navigation menu”If you’re ready to show off your page to the world, it can then be made available as a link on your store’s navigation menu.
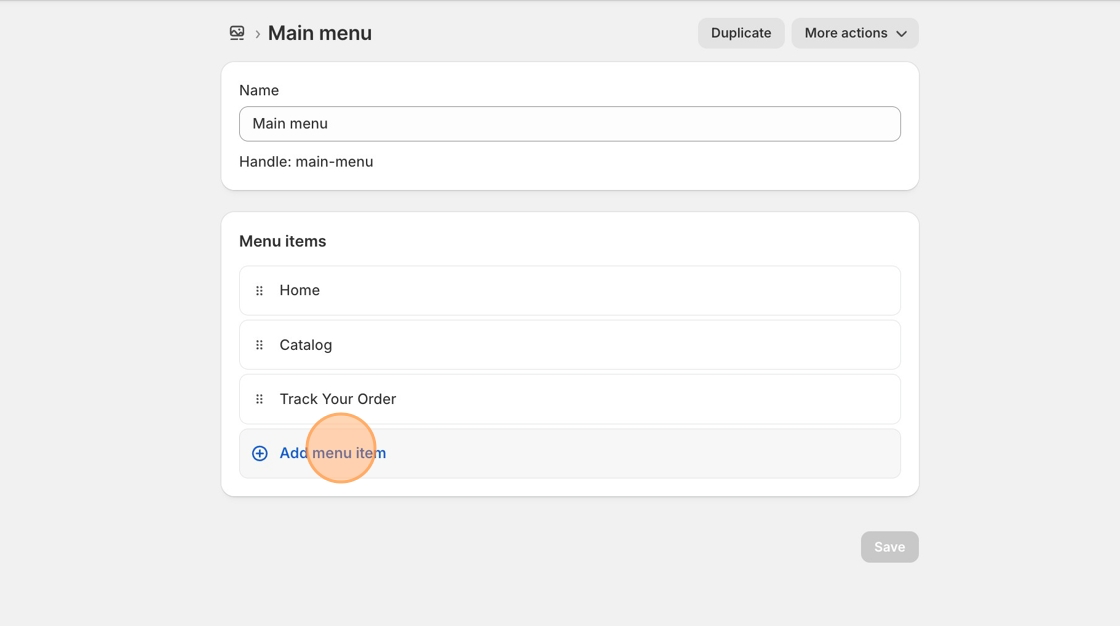
Starting from your Shopify admin dashboard, head to the Menus tab located within the Content section.
Locate and click on the menu you want to add the link to. Then click Add menu item.
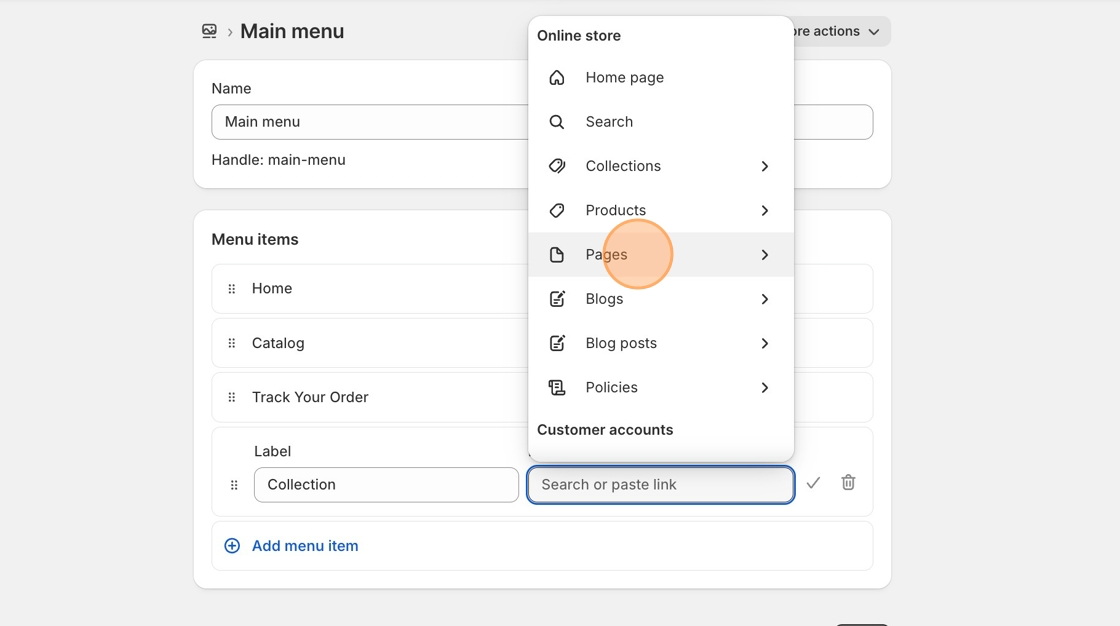
Add a name for the page in the Label field, then click on the Link field, and select Pages. Select your page from the list provided, click Add, and save your changes.
Your page is now live and viewable straight from your store! Time to celebrate. 🥳